Are you looking to monetize your skills or expertise? In that case, you might be interested in tutoring. However, in-person sessions restrict your client base which impacts your earning potential.
That’s why it can be a better idea to tutor students online. This gives you access to a global audience to maximize revenue. And with your own website, you gain the freedom to control learner access in a variety of ways, which makes it highly flexible.
In this post, we’ll take a look at the best way to offer online tutoring services. Then, we’ll share five steps to tutor students online. Let’s get started!
The Best Way to Offer Online Tutoring Services
Switching to a digital tutoring business allows you to quickly scale up your client base. For starters, you escape geographical limitations, so people all over the world can access your online tutoring services.
You can also create digital courses, which can be accessed at your students’ convenience. This is far more flexible than in-person tutoring, which isn’t always accessible to those with busy schedules.
You’ll find various ways to tutor students online, but the best solution is to set up a membership site. This functions as a central hub for all your resources, lessons, quizzes, webinars, and more.
You can even add a forum to your site so that peers can interact with one another. This helps build a strong sense of community and boost brand loyalty (which is beneficial if you plan to start affiliate marketing).
That said, the main advantage to selling memberships is that it’s highly flexible. You can appeal to a wide range of people by configuring tiered membership options. For example, you could offer a free plan that gives students access to some of your lessons.
But those that purchase higher-priced packages acquire additional perks. They might unlock your entire course catalog. Or, you might grant exclusive access to premium resources or private communities.
How to Tutor Students Online (In 5 Steps)
Now that you know why it’s a good idea to set up a membership site, let’s take a look at how to offer online tutoring services this way.
1. Set Up a WordPress Website
The first step to tutoring students online is to set up a website. We recommend WordPress because it’s free, open-source, and highly customizable.
If you have the skills to configure a server, you can download the software yourself. If not, you’ll need to choose a quality web hosting provider (like Bluehost) that will set it up for you:

The good thing about using a web host is that it also takes care of other essential website components. For instance, many hosting providers offer free domain names and free SSL certificates.
You’ll usually receive your WordPress credentials via email. After that, you can login to your WordPress dashboard by entering your domain name followed by /wp-admin.
To change the look and feel of your site, you’ll need to install a WordPress theme by going to Appearance → Themes → Add New Theme:
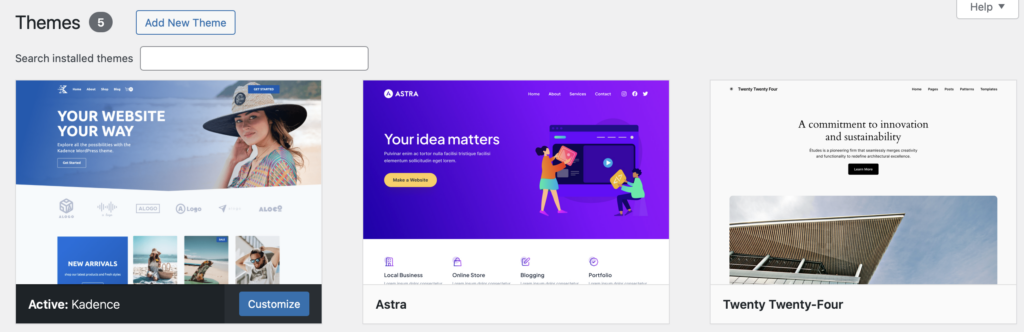
In fact, you can even find dedicated membership themes that come with built-in features and ready-made templates.
2. Install Paid Member Subscriptions
Another way to customize the default WordPress setup is to use WordPress plugins. These extend the base functionality of the platform.
So, you’ll need to install a membership plugin like Paid Member Subscriptions.
Paid Member Subscriptions Pro
Accept (recurring) payments, create subscription plans and restrict content on your website. Easily setup a WordPress membership site using Paid Member Subscriptions.
This enables you to accept payments, manage learner access, and restrict content so that it’s only available to paying members. The free version is sufficient for setting up a basic membership site.
However, you’ll need the premium plugin to access advanced features and add-ons. For instance, you might want to offer group memberships, bulk restrict content, or drip content over time.
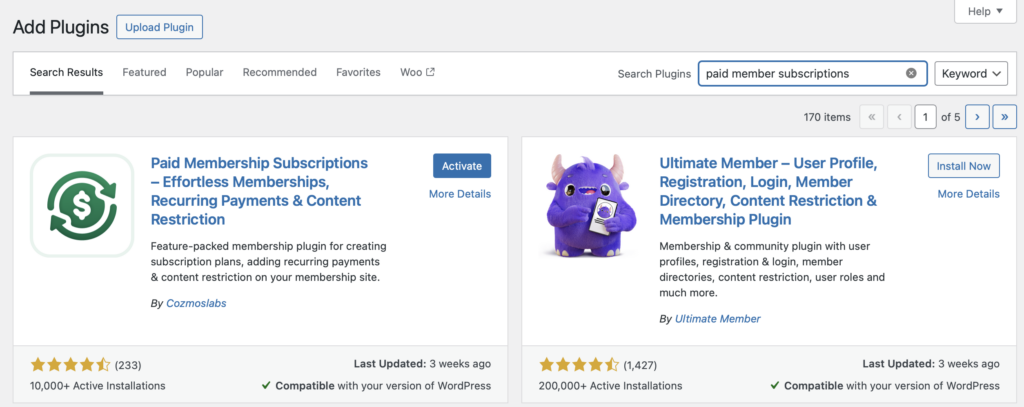
Even if you plan to purchase the premium version, you’ll still need to install the free plugin first. So, head to Plugins → Add New Plugin within the WordPress admin area.
Then, use the search box to find the tool and click on Install Now → Activate:
If you purchase a premium license, you’ll need to download the plugin from your Cozmoslabs account. Then, in the WordPress dashboard, click on Upload Plugin. It’s also best to add your license key to enable automatic updates and activate premium add-ons.
Once that’s taken care of, head to Paid Member Subscriptions and launch the setup wizard to configure some important settings. Don’t forget to enable your preferred payment gateway(s) too, like Stripe or PayPal.
3. Create Your Membership Levels
As we discussed earlier, the best way to tutor students online is to set up a membership site. That means you need to create different membership levels to control access to your lessons and course materials.
For example, you might set up an affordable plan that provides access to your courses. But then you might charge more for video training, certification programs, or community access.
To get started, go to Paid Member Subscriptions → Subscription Plans → Add New:

Here, enter the name and description for your first membership level. You should also set the subscription duration and price.
Below, you’ll find additional settings to apply a sign-up fee, offer a free trial, and enable automatic renewals. Once you’ve completed the fields, click on Save Subscription.
After that, repeat the process to add more membership tiers. Meanwhile, you can make it easy for students to switch between levels by adding upgrades and downgrades on the Subscription Plans page.
4. Configure Your Main Tutoring Channels
With your site and memberships ready to go, it’s time to configure your online tutoring services. There are lots of ways to tutor students online, so you can combine different formats and content types.
For starters, you might want to add courses or create video lessons. While you can add these as regular WordPress pages, it can be better to separate them from your key web pages and blog posts.
In this case, you can install a plugin like WordPress Creation Kit (WCK) and add course content as custom post types. In fact, we have a full guide here if you want to do this.
If you’re not bothered about setting up a membership blog, you can go ahead and add course content to regular WordPress pages:
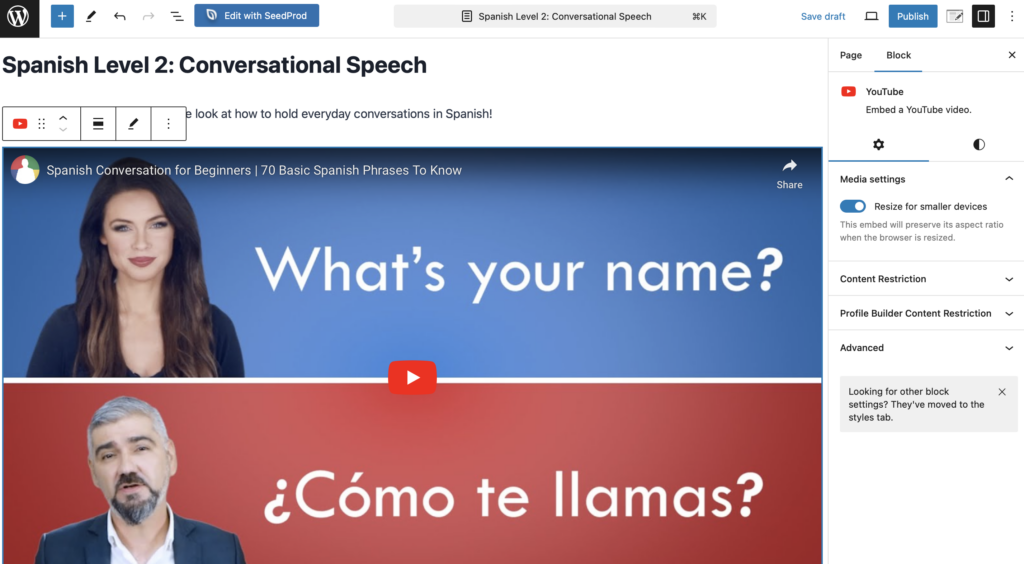
You can even embed self-hosted videos from sites like YouTube, which can be more engaging than written content.
Or, you can integrate an additional plugin into your site like WooCommerce or Easy Digital Downloads (EDD). This is ideal if you want to sell courses as products, or allow students to download resource materials (like PDF files).
You also have the option to set up a full learning management system (LMS) site. In this case, you’ll need the premium Paid Member Subscriptions plugin to integrate LearnDash or Tutor LMS. This is a must if you want to add quizzes or create certification programs.
5. Restrict Content Access
Finally, you need to restrict access to courses (and other materials) to give people an incentive to purchase a subscription. This is the easiest way to monetize your tutoring website.
With Paid Member Subscriptions set up, you should see a Content Restriction box beneath your WordPress posts and pages:
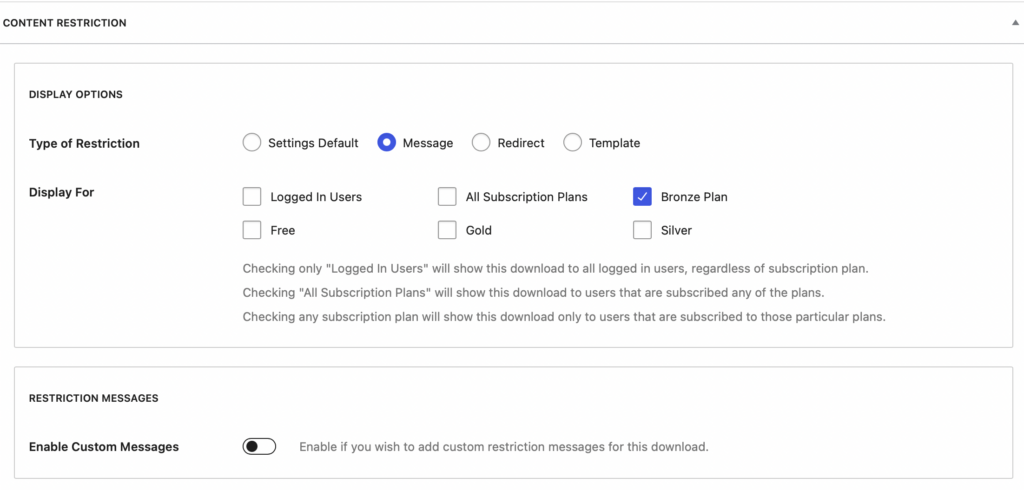
You’ll see the same thing if you add courses as digital downloads or products. This allows you to select which users or subscription plans can view and engage with your resources.
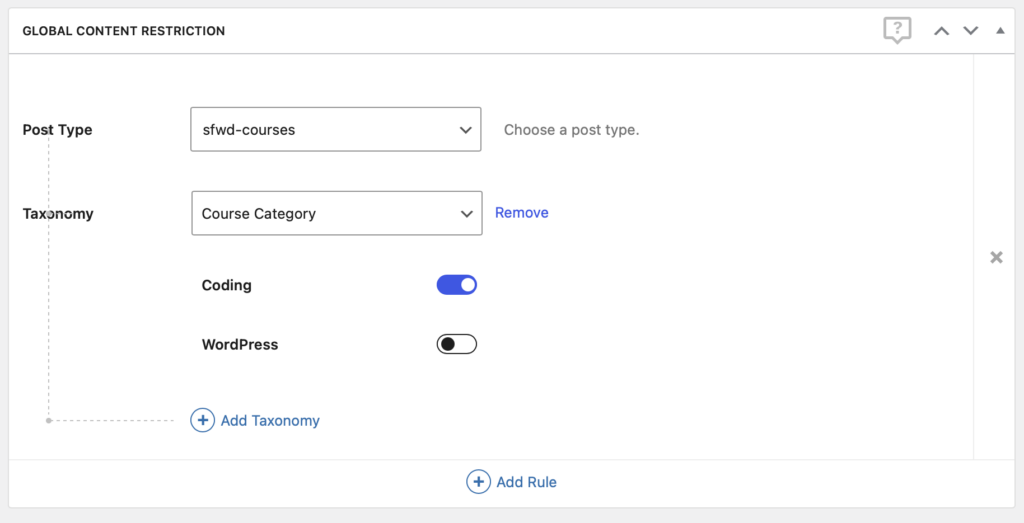
You can also set a custom restriction message or redirect unauthorized users to a different URL. Another benefit of using the paid PMS plugin is that you can activate the Global Content Restriction add-on.
This means you can determine the pages and courses that members can access within the subscription plan settings. This offers more flexibility since you can grant access to specific courses (or categories of courses) as you configure your memberships:
You can also create content schedules for your online tutoring services using the Content Dripping add-on. Rather than getting access to your lessons all at once, students can receive new lessons at pre-defined intervals (like once a week).
Ready to Start Tutoring?
Online tutoring services are a great way to appeal to a wider audience and boost your earnings. Better yet, with a membership site, you can mix up content types and formats. Plus, you can cater to a range of different people by providing different subscription packages.
To recap, here’s how to tutor students online in 2025:
- Set up a WordPress website.
- Install Paid Member Subscriptions.
- Create your membership levels.
- Configure your main tutoring channels.
- Restrict content access.
Do you have any questions about how to tutor students online? Let us know in the comments below!
